
Why Floors Fail in Florida (and How Subfloor Prep Prevents It)
· By Anderson
If you have lived in the Tampa Bay area for more than a season, you have probably seen it happen. A floor that looked flawless on install day starts telling on itself a year or two later. Grout lines crack in a thin lattice pattern, tile edges pop up, or vinyl seams lift and cup at the corners. The homeowner blames the material. Nine times out of ten, the material was fine. The problem was hidden below it, in the subfloor and the way it was prepped.
So why does tile crack in Florida more than it seems to in other parts of the country? It comes down to a few things working against you at once: concrete slabs that sit close to the water table, relentless humidity, big daily temperature swings between conditioned and unconditioned space, and shortcuts taken before the first tile ever goes down. This is the technical breakdown of what actually fails, and how doing the prep right stops each failure before it starts.
Slab Moisture and Vapor Emission: The Silent Killer
Almost every home in the Tampa Bay area sits on a concrete slab poured close to grade. Concrete is not waterproof. It wicks moisture up from the ground through capillary action, and that moisture moves as water vapor toward the surface where your flooring sits. Contractors measure this two ways: relative humidity inside the slab (the in-situ probe test, ASTM F2170) and surface moisture vapor emission rate, or MVER (the calcium chloride test, ASTM F1869). Manufacturers publish limits for both, and going over them voids most warranties.
When vapor gets trapped under a floor, it has to go somewhere. Under vinyl and LVP it collapses the adhesive bond, so seams lift, planks cup, and you get that soft, spongy feel underfoot. Under tile it can degrade thinset over time and feed mold in the grout. Florida slabs run high on both tests far more often than slabs in dry climates, and a slab that reads fine in January can read very differently in the wet season. That is why a real prep process starts with testing the slab, not guessing. If the numbers are high, the fix is a moisture mitigation membrane or a topically applied epoxy vapor barrier before anything else goes down.
An Unlevel Subfloor: Where the Lattice Cracks Come From
Tile is rigid and unforgiving. It needs full, even support across the entire back of every piece. If the slab has dips, high spots, or a slow roll across the room, sections of tile end up bridging a gap with air underneath instead of resting on thinset. Step on that unsupported spot enough times and the tile flexes just slightly, over and over, until it fatigues and cracks. When you see cracks that run in a repeating lattice or diagonal pattern across a whole floor rather than one isolated break, that is almost always a flatness problem, not a bad tile.
The industry standard (TCNA guidelines) is tight, especially for the large-format tile everyone wants now: no more than 1/8 inch of variation over 10 feet for tiles with any edge 15 inches or longer. Very few raw Florida slabs meet that out of the box. Proper prep means checking the whole floor with a straightedge, grinding down the high spots, and pouring self-leveling underlayment into the lows so the tile lands on a true plane. Skip this step to save a day, and the floor pays for it later.
No Crack Isolation: When the Slab Moves, the Tile Follows
Concrete slabs move. They cure and shrink for years, they expand and contract with temperature, and they settle unevenly as the sandy soil under them shifts. Hairline cracks in a slab are normal and usually harmless to the structure. The problem is that a crack in the slab telegraphs straight up through rigid thinset and tile if nothing separates them. That is why you sometimes see a single crack run in a dead-straight line right across an otherwise perfect tile floor, jumping from tile to grout to tile: the slab cracked, and the tile had no choice but to crack with it.
The fix is crack isolation, also called an anti-fracture membrane (rated to ANSI A118.12). It is a sheet or liquid-applied layer that bonds to the slab and to the tile above it while allowing the two to move independently by a small amount. When the slab shifts, the membrane absorbs the horizontal movement instead of passing it up to the tile. In Florida, where slabs move with both moisture and heat, this is not an upgrade for fussy jobs. On any slab with existing cracks or a large open floor, it is the difference between a floor that lasts and one that cracks on schedule.
Waterproofing Done Wrong in Showers and Bathrooms
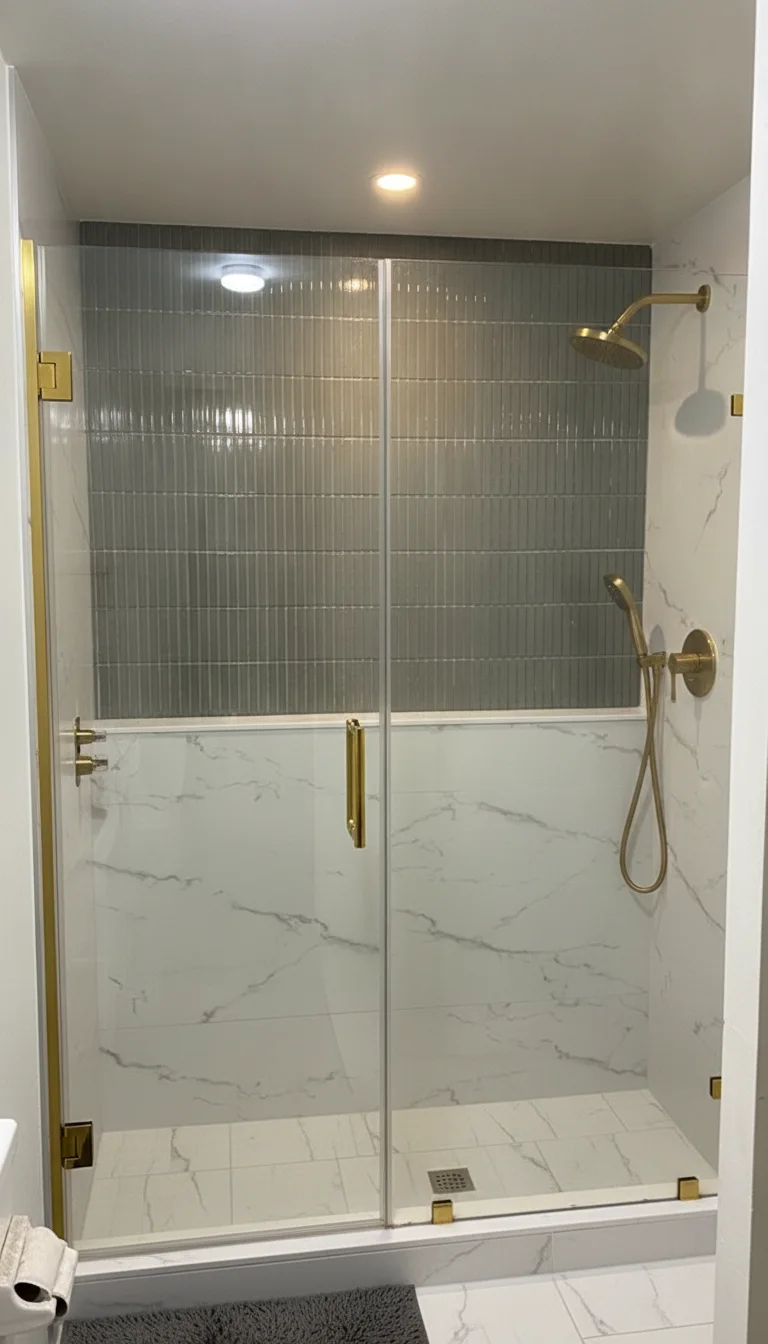
Bathrooms are where bad prep does the most expensive damage, because the failure hides behind finished tile until the drywall or subfloor rots. Tile and grout are not waterproof. Grout is porous and cement backer board is not a moisture barrier, so the actual waterproofing has to be a dedicated membrane behind the tile: a sheet membrane or a liquid-applied coating over the walls and pan, with the corners, seams, and drain flange properly sealed. When a shower is tiled straight onto backer board with no membrane, water passes through the grout, saturates the wall cavity, and you get mold, soft framing, and eventually tile that lets go entirely.
In our climate the stakes are higher. High ambient humidity means shower assemblies never fully dry out between uses the way they might in a dry state, so any water that gets past the tile lingers and keeps working. A properly waterproofed shower is built as a fully sealed system that assumes water will get through the surface and traps it before it reaches anything that can rot. That is exactly the kind of detail that separates a bathroom remodel that lasts twenty years from one that fails in three.
Expansion, Movement, and Missing Movement Joints
Every hard floor needs somewhere to move. Tile expands and contracts with temperature and humidity, and so does the slab under it and the walls around it. If a tile floor is installed wall to wall with no gap and no movement joints, all that expansion has nowhere to go. The tiles push against each other and against the walls until the compression forces them to lift right off the slab in a ridge, a failure called tenting. It usually happens suddenly, sometimes with an audible pop, in a room that gets a lot of sun or a big temperature swing.
Prep prevents it with two things: a soft perimeter joint where the tile meets every wall and vertical surface (filled with flexible sealant, not grout, and hidden by the baseboard), and interior movement joints in large or sun-exposed floors per TCNA detail EJ171. Florida rooms with big sliders and lots of afternoon light are prime candidates for tenting, so movement accommodation is planned into the layout from the start, not added as an afterthought.
The Wrong Adhesive and Skipped Acclimation
Not every bonding material belongs on every floor. Large-format tile needs a medium-bed or large-format mortar that holds its shape and supports the tile without slumping, applied thick enough to get full coverage under the whole piece. Standard thinset spread too thin leaves voids, and voids under tile become cracks. For LVP and vinyl, the adhesive (or the choice to float the floor instead of glue it) has to match the product and the moisture conditions of the slab. Using a general-purpose glue where the slab reads high on moisture is a guaranteed callback.
Acclimation matters too, and it gets skipped constantly. Vinyl, LVP, and engineered products expand and contract with temperature and humidity, so the boxes need to sit inside the actual room, in the conditioned air they will live in, for the time the manufacturer specifies before install. Lay a cold plank floor that has not adjusted to a warm, humid Florida house and it will keep expanding after install, buckling seams and lifting edges. Real prep bakes acclimation time into the schedule instead of rushing the material out of the truck and onto the floor the same afternoon.
How to Read the Warning Signs
Different failures leave different fingerprints, and reading them tells you what went wrong underneath. Cupping (edges of vinyl or wood planks rising higher than the centers) points to moisture coming up through the slab. Lifting or peeling seams on vinyl and LVP mean the adhesive bond failed, usually from vapor or a missed moisture barrier. Cracked grout in a repeating lattice or diagonal pattern signals an unlevel subfloor with tiles flexing over voids. A single straight crack running clean across the floor is the slab cracking through with no isolation membrane. Tile that has lifted into a ridge is tenting from missing movement joints. And mushy, musty spots around a shower base almost always trace back to a waterproofing failure behind the tile.
The through-line is that these are prep problems wearing a finish-material costume. You cannot see the subfloor, the moisture test, the membrane, or the movement joints once the floor is done, which is exactly why they get shortchanged. Getting the surface flat, testing the slab, isolating cracks, waterproofing wet areas as sealed systems, planning for movement, and matching adhesive to conditions is the unglamorous work that decides whether a floor holds up to the Florida climate. It is where the real difference is made, long before the first tile is set.
Frequently asked questions
- Why does tile crack in Florida more than in other states?
- Florida homes sit on slabs poured close to the water table, so they carry more moisture and move more with heat and humidity than slabs in dry climates. When a slab that is uneven or cracked is tiled without leveling, crack isolation, or moisture testing, that movement and moisture transfer straight up into the rigid tile and grout, causing cracks. The tile is rarely the problem; the prep is.
- How do I know if my floor failure is a subfloor problem?
- Look at the pattern. Repeating lattice or diagonal grout cracks usually mean an unlevel subfloor. A single straight crack across the whole floor means the slab cracked with no isolation membrane. Cupping and lifting seams point to slab moisture. Mushy, musty spots near a shower mean a waterproofing failure. All of these start below the finished surface, in the prep.
- Can moisture problems be fixed before installing a new floor?
- Yes. The slab should be tested for moisture and vapor emission first. If the readings run high, a moisture mitigation membrane or vapor barrier is applied to the slab before the flooring goes down, which stops vapor from reaching and destroying the adhesive bond. Testing first is what makes the difference, so the fix matches what the slab actually needs.
- Does proper subfloor prep cost more, and is it worth it?
- Proper prep, meaning moisture testing, leveling, crack isolation, and waterproofing, does add to the up-front cost, and the exact amount depends on the condition of your slab and the size of the job, so it is best quoted after an inspection. It is worth it: skipping prep is the most common reason floors fail early and have to be torn out and redone, which costs far more than doing it right the first time. We provide free estimates so you know what your slab needs before any work begins.
Related services
Serving
Found this helpful? Make us a preferred source on Google.
Ready for an exact price?
Get a free, no-pressure in-home estimate. Real numbers for your home, not a phone guess.